Peer Connexions portal provides 3 user access levels that control access to contents and services on the portal.
Level 0: Guest Access
Level 1: Basic Registration with validated email ID
Level 2: Registered as a Business User
Level 3: Business User registered with at-least one of the Distributors / Sellers
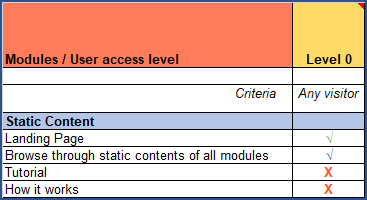
Level 0: Guest Access
Guest Access on the portal is for visitors who have not registered on the portal or who have not log-on onto the Portal.
Guest Users will have access to only Static Content on the portal.
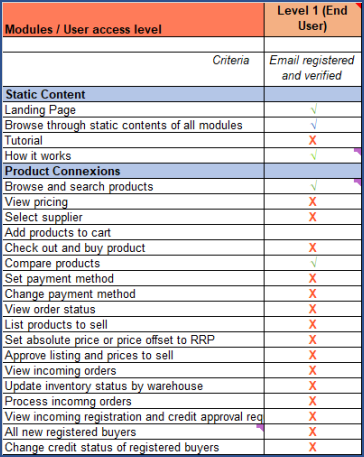
Level 1: Basic Registration with validated email ID
This is the first step to register onto Peer Connexions Portal
Level 1 Access requires to provide and validate email ID.
This level provides access into
- All Static content on the portal
- Access to Product Catalogue
- Browse and search products
- Compare products
Follow below steps to initiate and complete basic registration
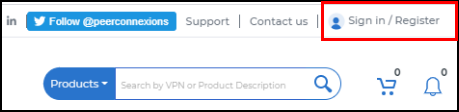
Level 1 – Step 1 : <Click> on the “Sign in / Register” link at the Top Right-Hand Corner of the Page
Level 1 – Step 2: Provide Personal Details and activate your account:
Step 2.1 : Provide Personal Details :
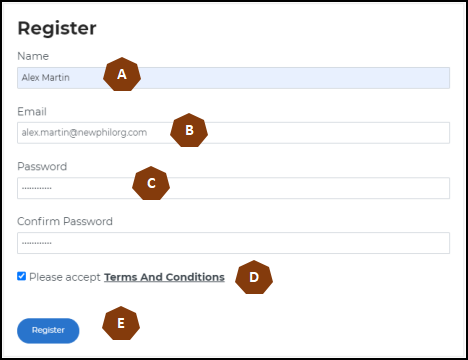
- A – Provide Your Name (First Name and Last Name combined)
- B – Provide your email ID.
- C – Provide a password for your access into Peer Connexions Portal. The password should match the basic rule –
Should be between 8 and 15 characters, and should contain at least 1 capital letter, 1 small-case letter, 1 digit and 1 special character
- D – Read the “Terms and Conditions” and accept with <Click> on check-mark.
- E – <Click> on <<Register>> to initiate request for Registration
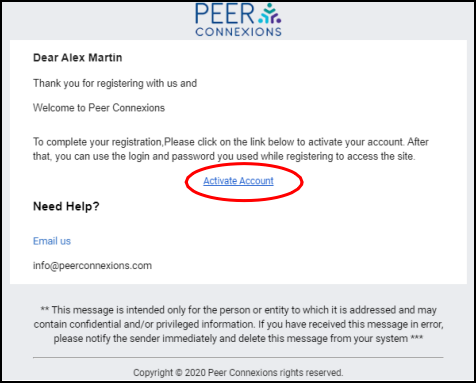
Step 2.2 : Activate your account
An email will be sent to the email ID provided. <Click> on << Activate Account >> to initiate activation of your registration and access into Peer Connexions Portal.
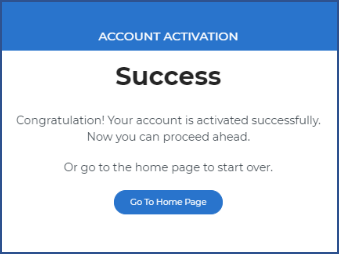
The << Activate Account >> link will re-direct you to the Peer Connexions portal to validate and activate your Level 1 registration. On successful validation a “Success” message will be displayed that your account has been activated.
Step 2.3 : Login as a Valid Level 1 User
Login through the “Sign in / Register” link.

Provide your email ID and password.
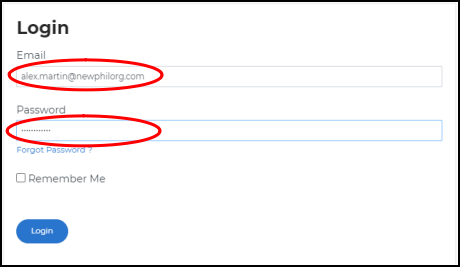
You will now have Level 1 access
Level 2: Registered as Business User
Level 2 provides access as a Business User. This requires the user to provide following details:
- Organization Name
- Organization TIN number and scanned document
- Telephone Contact number and official address
This level provides access into
- All Static content on the portal
- Tutorials
- Access to Product Catalogue
- Browse and search products
- Compare products
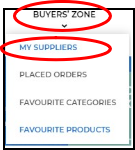
- 4. Access into Buyer’s Zone
- Access to “My Suppliers” to enable registration with one or more Distributors /
Sellers

Level 2 – Step 1: Initiate request to provide Business User Access
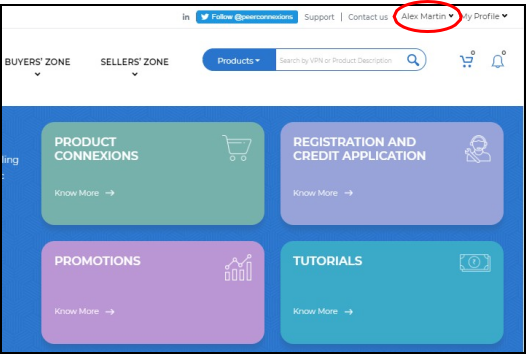
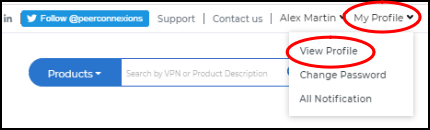
Step 1.1 : Navigate into “My Account” page
Step 1.2: Initiate request to provide Level 2 – Business User access.
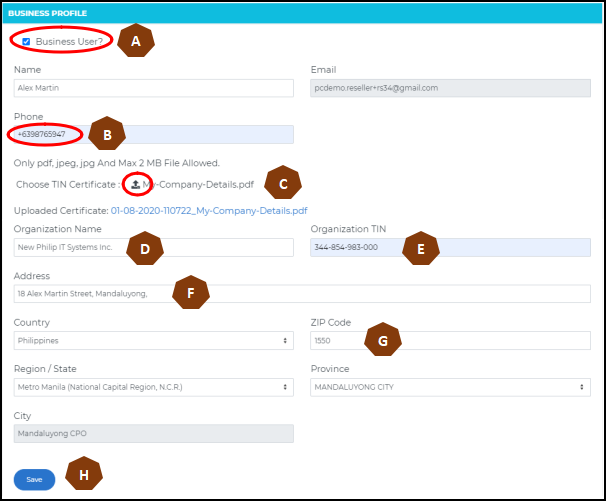
A – Click on the <<Check-Mark>> to open the form

B – Provide Contact Telephone number
C – Upload your Organization’s TIN document
D – Provide Organization Name (as registered on TIN document)
E – Provide Organization TIN number. If TIN number has already been registered by another user then an error message will be displayed and you will not be able to proceed further.
F, G – Provide Organizations official address and ZIP Code.
H – <Click> on << Save >> to submit your request.
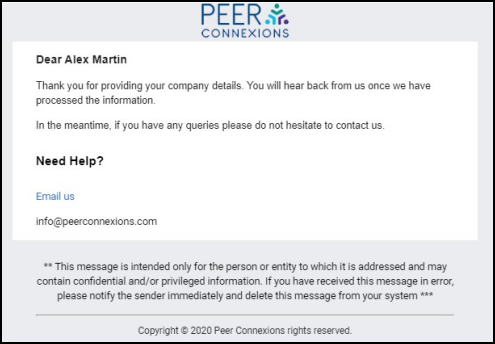
A message will be displayed that the information has been accepted and be passed on to the Peer Connexions Back-office for processing your request.

An email will be sent to your registered email ID confirming receipt of company details.
On successful validation by Peer Connexions Back office an email will be sent verifying your Level 2 access.
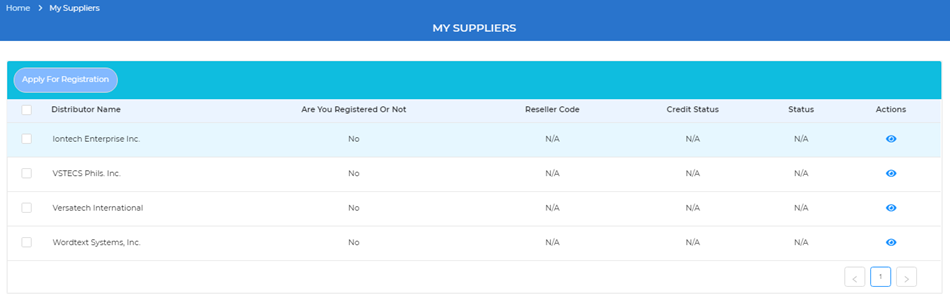
You will now have access into “Buyers Zone”. Through the “My Suppliers” option you will be able to register with any of the Distributors / Sellers.
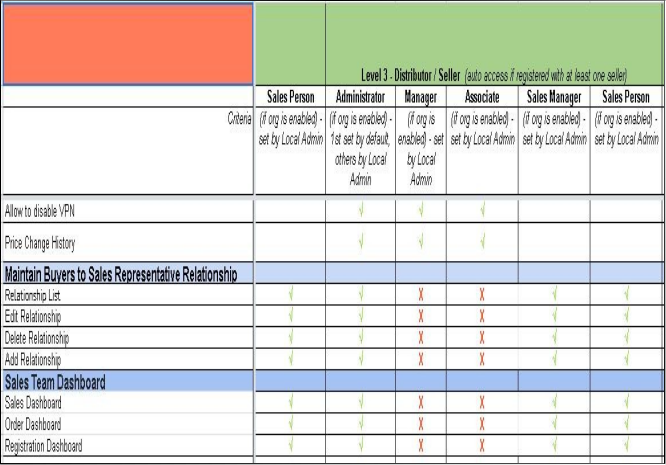
Level 3: Business User registered with one of the Distributors / Sellers
Once a Level 2 user has registered with at-least one of the Distributors / Sellers they will be upgraded to Level 3 Access.
(Note: To understand the Registration process with Distributor / Seller, refer to the “User Registration Manual”)
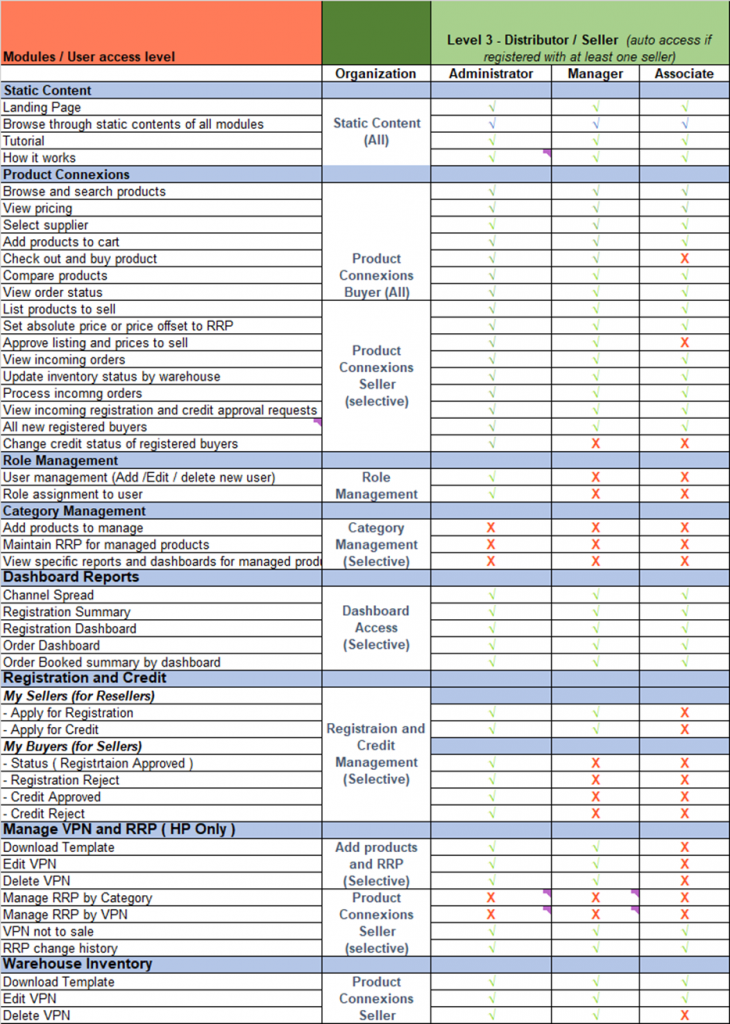
In addition to access provided at Level 1 and 2, you will have access to:
Access provided to Buyers :
- View Product Pricing (offered by each Distributor / Seller)
- View Product Inventory (Inventory Levels) of Distributors / Sellers by Warehouse
- Purchase products on the portal
- View Order Status
- Register with Distributors
- Apply for Credit Approvals with Distributors
- Create additional users for their organization with specific roles :
- Create additional users and allocate a user as primary contact.
- Allocate specific Roles : Admin, Manager, Associate
Additional access provided to Distributors / Sellers:
- List Products available for sale
- Set Pricing – Absolute price or price offset to RRP
- Update Inventory by Warehouse
- View Incoming Orders
- Process Incoming Orders
- Accept Orders for processing into their internal systems
- Provide Order fulfilment status.
- View and approve/reject Incoming Registration and Credit Approval requests
- Change Credit status of registered buyers
Creating additional users for your organization
Level 3 – Step 1
Once an organization is upgraded to Level 3 they (Admin user) will be able to view the “My Users” link on the “My Profile” Menu

Level 3 – Step 2
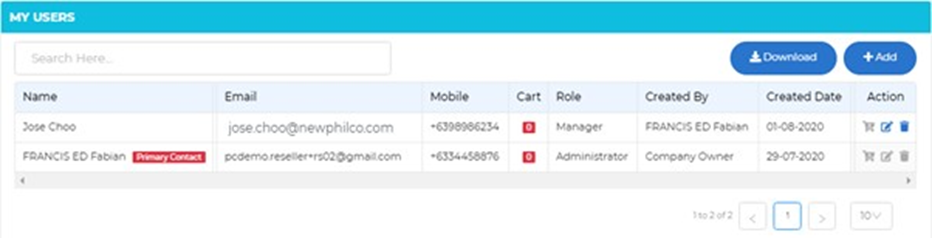
The “My Users” link will open up the “My Account” page with list of Users available for your
Organization. Here you can ‘Add’ and Modify User and access levels for your Organization.
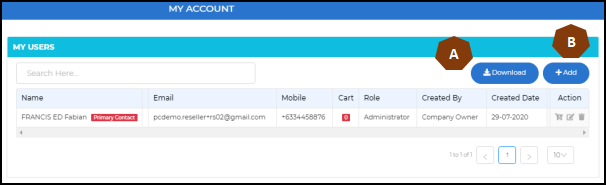
- A – Download list of users in Excel .xlsx file format
- B – <Click> on << +Add >> to begin creating new users.
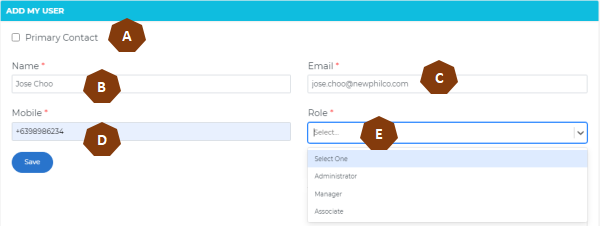
A – Assign new user as “Primary Contact” for the Organization.
Note : Only a user with “Administrator” role can be assigned as “Primary Contact”
- B – Specify the new users Name
- C – Specify the new users email ID
- D – Specify the new users contact telephone number
- E – Assign role to the new user.
- Click on << Save >> to create the new User.
A message will be displayed once the New User has been created and an activation email sent to the Users email ID with a link to activate the new user account.
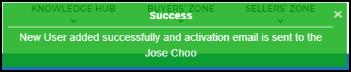
You will be able to view the new user in the list of Users.
An email will be sent to the Users email ID with a link to activate the new user account.
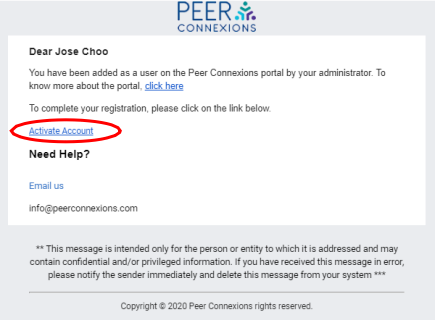
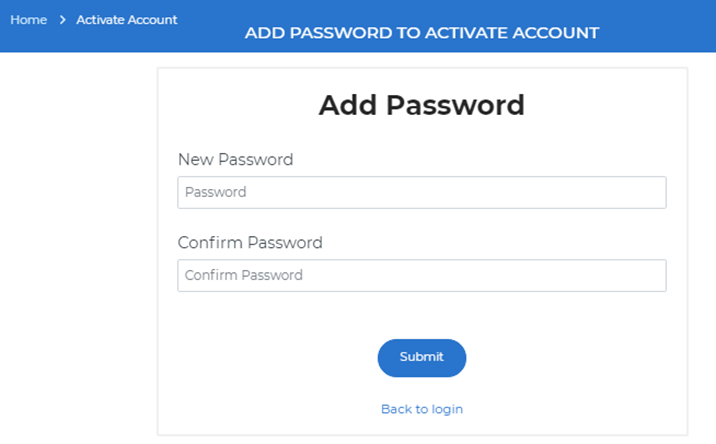
<Click> on << Activate Account >> will open the Activate Account page and allow the user to assign a password to their new account.